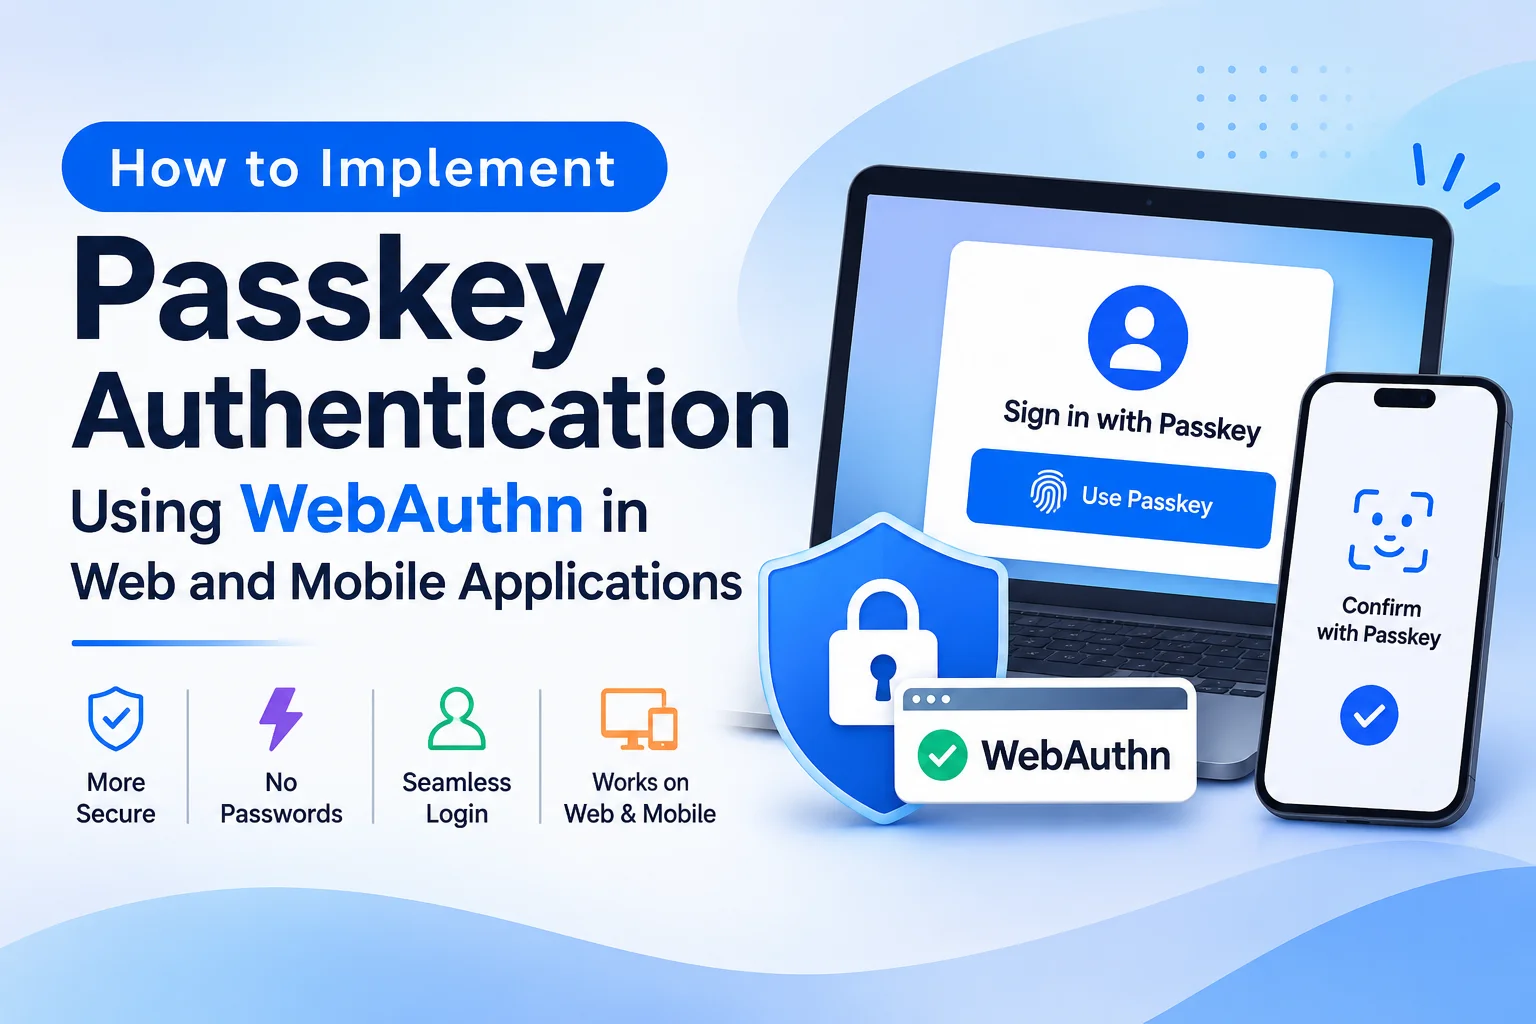
Traditional authentication systems rely heavily on passwords, which can be difficult to manage and vulnerable to phishing, credential theft, and brute-force attacks. Passkeys provide a more secure and convenient alternative by allowing users to authenticate with biometrics, device PINs, or other built-in screen-lock methods.
Passkeys use public-key cryptography and standards such as WebAuthn and FIDO2 to verify users without requiring them to remember passwords. They can be used across websites, mobile applications, and supported devices.
For businesses developing modern digital products, implementing passkey authentication can improve account security while reducing password-related support requests.
In this guide, we will explain how to implement passkey authentication using WebAuthn in web and mobile applications, including system architecture, registration, authentication, backend integration, database design, security, and deployment.
1. Understand Passkeys and WebAuthn
Before implementing passkey authentication, it is important to understand the technologies involved.
Passkeys are digital credentials that allow users to authenticate using a cryptographic key pair. The private key remains protected by the user’s authenticator, while the corresponding public key is registered with the application server.
WebAuthn (Web Authentication) is a web standard that allows websites and applications to communicate with authenticators through secure public-key cryptography.
FIDO2 is an authentication framework that includes WebAuthn and the Client to Authenticator Protocol (CTAP). It supports communication between devices, browsers, and external authenticators.
The authentication process uses two cryptographic keys:
- Public key: Stored on the application server.
- Private key: Protected by the user’s device or authenticator.
When a user signs in, the authenticator uses the private key to sign a challenge. The server verifies the signature using the registered public key.
Unlike passwords, the private key is not sent to the application server.
2. Understand the Passkey Authentication Architecture
A passkey authentication system involves the frontend application, browser or mobile operating system, authenticator, and backend authentication service.
The main components include:
| Component | Responsibility |
|---|---|
| Web or mobile application | Provides registration and login interfaces |
| WebAuthn API | Communicates with supported authenticators |
| Platform authenticator | Uses device biometrics or screen-lock credentials |
| Cross-platform authenticator | Supports external security keys or compatible devices |
| Backend authentication service | Generates challenges and verifies responses |
| Database | Stores public keys and credential information |
| HTTPS connection | Protects communication between application and server |
The general architecture looks like this:
       Web / Mobile Application
                 |
          Authentication UI
                 |
        WebAuthn / Native API
                 |
            Authenticator
       (Biometrics / Device PIN)
                 |
          Cryptographic Proof
                 |
          Backend API Server
                 |
        Challenge Verification
                 |
          Public Key Database
                 |
          Authenticated Session
The application server never needs access to the user’s private key.
3. Choose the Technology Stack
The implementation depends on whether the application is web-based, mobile-based, or supports both platforms.
| Technology | Purpose |
|---|---|
| Vue.js / React | Build web authentication interfaces |
| JavaScript / TypeScript | Implement WebAuthn client logic |
| WebAuthn API | Register and authenticate web credentials |
| Node.js | Build authentication backend services |
| Express.js | Create authentication API endpoints |
| SimpleWebAuthn | Simplify WebAuthn server and browser integration |
| PostgreSQL | Store user and credential records |
| Flutter | Develop cross-platform mobile applications |
| Native Android APIs | Integrate Android credential functionality |
| Apple AuthenticationServices | Integrate passkeys on Apple platforms |
For web applications, the WebAuthn API provides browser-level support. For native mobile applications, use platform-supported credential APIs rather than assuming browser WebAuthn code will work unchanged inside every mobile environment.
4. Set Up the Backend Authentication Service
The backend is responsible for generating cryptographic challenges, validating authenticator responses, and managing registered credentials.
For a Node.js application, create a backend project:
mkdir passkey-auth-server
cd passkey-auth-server

npm init -y
npm install express cors dotenv
npm install @simplewebauthn/server
npm install @simplewebauthn/browser
npm install pg
npm install -D typescript tsx @types/node @types/express
The backend should expose separate endpoints for registration and authentication.
A recommended API structure is:
/api/auth/
    register/options
    register/verify
    login/options
    login/verify
    credentials
    credentials/:id
Each endpoint should verify the user’s identity and validate the relevant WebAuthn challenge.
5. Design the Passkey Database Structure
A passkey system requires a database to associate registered credentials with application users.
A suggested database structure is:
| Table | Important Fields |
|---|---|
| users | id, name, email, created_at |
| passkey_credentials | id, user_id, credential_id, public_key, counter, transports |
| authentication_challenges | id, user_id, challenge, purpose, expires_at |
| user_sessions | id, user_id, session_token_hash, expires_at |
| authentication_logs | id, user_id, event_type, device_info, created_at |
Important credential fields include:
credential_id: Unique identifier for the registered credential.public_key: Public key used to verify authentication signatures.counter: Signature counter when supported by the authenticator.transports: Available communication methods reported by the credential.user_id: Account associated with the passkey.
Store binary credential data using an appropriate binary database type or a consistent encoded representation.
Never store a user’s private key.
6. Implement Passkey Registration
Registration allows users to create a passkey and associate it with their application account.
The registration process generally follows these steps:
- The user signs in or verifies their identity.
- The frontend requests registration options from the backend.
- The backend generates a unique challenge.
- The browser or mobile application requests a new credential from the authenticator.
- The user approves registration using biometrics, a device PIN, or another supported method.
- The authenticator returns a credential response.
- The backend verifies the response.
- The credential’s public key and associated information are saved.
The backend can generate registration options using SimpleWebAuthn.
Example:
import {
  generateRegistrationOptions
} from "@simplewebauthn/server";

const options = await generateRegistrationOptions({
  rpName: "Dotcube Application",
  rpID: "example.com",
  userName: user.email,
  userID: new Uint8Array(
    Buffer.from(user.id)
  ),
  attestationType: "none",
  authenticatorSelection: {
    residentKey: "required",
    userVerification: "required"
  }
});
Here:
rpNameidentifies the relying party.rpIDidentifies the website’s registered domain.userNameidentifies the account.userIDprovides a stable user identifier.residentKeyrequests a discoverable credential.userVerificationrequires user verification where supported.
Save the generated challenge in a short-lived server-side session or challenge store. Do not trust a challenge supplied independently by the client.
7. Create the Frontend Registration Interface
The frontend communicates with the backend to obtain registration options and invoke the browser’s WebAuthn functionality.
Example using the SimpleWebAuthn browser package:
import {
  startRegistration
} from "@simplewebauthn/browser";

async function registerPasskey() {
  const optionsResponse = await fetch(
    "/api/auth/register/options",
    {
      method: "POST",
      credentials: "include"
    }
  );

  if (!optionsResponse.ok) {
    throw new Error("Unable to create registration options");
  }

  const options = await optionsResponse.json();

  const registrationResponse =
    await startRegistration({
      optionsJSON: options
    });

  const verificationResponse = await fetch(
    "/api/auth/register/verify",
    {
      method: "POST",
      credentials: "include",
      headers: {
        "Content-Type": "application/json"
      },
      body: JSON.stringify(registrationResponse)
    }
  );

  if (!verificationResponse.ok) {
    throw new Error("Passkey registration failed");
  }

  return verificationResponse.json();
}
The interface should display useful messages when registration succeeds, fails, or is cancelled.
Also provide an option to register multiple passkeys so users can access their accounts from different devices.
8. Verify Passkey Registration on the Backend
The server must verify that the returned credential was generated for the expected registration challenge and relying party.
Example:
import {
  verifyRegistrationResponse
} from "@simplewebauthn/server";

const verification =
  await verifyRegistrationResponse({
    response: registrationResponse,
    expectedChallenge: storedChallenge,
    expectedOrigin: "https://example.com",
    expectedRPID: "example.com",
    requireUserVerification: true
  });

if (verification.verified && verification.registrationInfo) {
  // Save the credential ID and public key.
  // Associate the credential with the authenticated user.
}
The exact credential fields returned by the library can vary by version. Map the verified registration information to the credential model supported by the installed package.
Only save a credential after successful verification.
9. Implement Passkey Authentication
Once a passkey has been registered, users can use it to sign in without entering a password.
The authentication workflow is:
- The user selects the passkey login option.
- The frontend requests authentication options.
- The backend generates a fresh random challenge.
- The browser or operating system displays available passkeys.
- The user selects a credential and completes verification.
- The authenticator signs the challenge using the private key.
- The frontend sends the assertion response to the backend.
- The backend verifies the signature using the stored public key.
- The application creates an authenticated session.
Generate authentication options using SimpleWebAuthn:
import {
  generateAuthenticationOptions
} from "@simplewebauthn/server";

const options =
  await generateAuthenticationOptions({
    rpID: "example.com",
    userVerification: "required"
  });
For discoverable credentials, the user may not need to enter an email address first. The authenticator can help identify the account using the credential information returned during authentication.
For username-first login, the backend can retrieve the user’s registered credentials and provide them as allowCredentials.
10. Create the Frontend Login Interface
The frontend invokes the browser’s WebAuthn authentication flow.
Example:
import {
  startAuthentication
} from "@simplewebauthn/browser";

async function loginWithPasskey() {
  const optionsResponse = await fetch(
    "/api/auth/login/options",
    {
      method: "POST",
      credentials: "include"
    }
  );

  if (!optionsResponse.ok) {
    throw new Error("Unable to create login options");
  }

  const options = await optionsResponse.json();

  const authenticationResponse =
    await startAuthentication({
      optionsJSON: options
    });

  const verificationResponse = await fetch(
    "/api/auth/login/verify",
    {
      method: "POST",
      credentials: "include",
      headers: {
        "Content-Type": "application/json"
      },
      body: JSON.stringify(authenticationResponse)
    }
  );

  if (!verificationResponse.ok) {
    throw new Error("Passkey authentication failed");
  }

  return verificationResponse.json();
}
The application should redirect the user only after the backend confirms successful authentication and establishes a valid session.
11. Verify Authentication Assertions
The backend verifies the signed challenge and ensures that the credential belongs to the expected user or is a valid discoverable credential.
Example:
import {
  verifyAuthenticationResponse
} from "@simplewebauthn/server";

const verification =
  await verifyAuthenticationResponse({
    response: authenticationResponse,
    expectedChallenge: storedChallenge,
    expectedOrigin: "https://example.com",
    expectedRPID: "example.com",
    credential: {
      id: savedCredential.credentialId,
      publicKey: savedCredential.publicKey,
      counter: savedCredential.counter,
      transports: savedCredential.transports
    },
    requireUserVerification: true
  });

if (verification.verified) {
  // Update credential counter where applicable.
  // Create a secure application session.
}
The credential object and its field types must match the installed SimpleWebAuthn version.
After successful verification:
- Update the stored signature counter when applicable.
- Mark the authentication attempt as successful.
- Create a secure session.
- Return the authenticated user’s account information.
The server should consume each challenge only once and reject expired or reused challenges.
12. Implement Passkeys in Android Applications
Native Android applications should use Android’s Credential Manager API to support passkeys.
Credential Manager provides a unified interface for managing authentication credentials, including passkeys, passwords, and supported federated sign-in options.
The implementation generally involves:
- Add the required Credential Manager dependencies.
- Configure the application and relying-party association.
- Request passkey registration options from the backend.
- Convert the server response into the appropriate registration request.
- Invoke Credential Manager.
- Send the returned credential response to the backend.
- Verify the registration response and save the public key.
For authentication, the application requests a fresh challenge and passes the corresponding request to Credential Manager.
A typical Android integration uses:
- Credential Manager
- Public-key credential creation requests
- Public-key credential retrieval requests
- Digital Asset Links for verified application and website association
The backend verification process remains similar to the web implementation. Native applications should use the platform’s supported APIs rather than directly relying on browser-only JavaScript functions.
13. Implement Passkeys in iOS Applications
Apple provides passkey support through the AuthenticationServices framework.
Native iOS applications can use this framework to create and retrieve passkeys associated with a website’s relying-party domain.
The implementation requires:
- Configure the associated domains entitlement.
- Enable the appropriate web credentials association.
- Request registration options from the backend.
- Create an
ASAuthorizationPlatformPublicKeyCredentialProvider. - Generate a registration request using the server challenge.
- Present the authorization interface.
- Send the resulting credential response to the backend.
- Verify the response and store the public key.
For authentication, the application uses an assertion request with a fresh server-generated challenge.
Apple’s passkey integration uses the AuthenticationServices framework and requires the website domain to be correctly associated with the application.
14. Support Passkeys Across Web and Mobile Platforms
A cross-platform authentication system should allow users to access their accounts through supported devices.
However, passkey availability and synchronization depend on the operating system, authenticator, credential provider, and account configuration.
Consider the following requirements:
| Platform | Integration | Important Consideration |
|---|---|---|
| Web browsers | WebAuthn API | Requires a secure context and valid relying-party configuration |
| Android | Credential Manager | Configure verified website and application association |
| iOS | AuthenticationServices | Configure associated domains |
| Desktop | Browser WebAuthn | Supports platform and external authenticators |
| External security keys | WebAuthn / CTAP | Support depends on authenticator and browser |
For cross-device authentication, users may use synchronized passkeys or an eligible device-to-device authentication flow, such as a QR-code-assisted security-key exchange.
Do not assume that a passkey created on one device will automatically be available on every other device. Provide account recovery and alternative authentication methods.
15. Implement Session Management and Account Recovery
Passkey verification proves control of a registered credential, but the application still needs a secure session management system.
After successful authentication, create a session using secure cookies or an appropriate token-based architecture.
Important practices include:
- Use HTTPS throughout the authentication flow.
- Store session identifiers securely.
- Use
HttpOnly,Secure, and appropriateSameSitecookie settings. - Rotate session identifiers after authentication.
- Apply session expiration and revocation policies.
- Protect sensitive account changes with reauthentication.
Account recovery is equally important.
Users may lose their devices, remove a passkey, or lose access to their credential provider. Provide secure recovery options such as backup passkeys, verified recovery processes, or another approved authentication method.
Recovery should not become an easier way for attackers to bypass passkey security.
16. Implement Passkey Management Features
A production-ready application should provide an account security page where users can manage their registered passkeys.
Useful features include:
- Register another passkey.
- View registered passkeys.
- Rename a passkey for easier identification.
- Display registration dates.
- Remove a passkey.
- Revoke active sessions.
- Review recent authentication activity.
Before deleting the final available credential, consider requiring users to register another authentication method or complete a secure recovery process.
17. Follow WebAuthn Security Best Practices
Passkey authentication is designed to resist phishing, but an incorrect implementation can still introduce security vulnerabilities.
Follow these important practices:
- Generate unpredictable challenges using a cryptographically secure random number generator.
- Validate the expected origin and relying-party ID.
- Verify user presence and user verification according to the application’s policy.
- Bind every challenge to the correct user and authentication purpose.
- Enforce challenge expiration and single-use behavior.
- Verify credential ownership before allowing authentication.
- Store only verified public credential information.
- Protect registration and authentication endpoints against abuse.
- Use secure cookies and session management.
- Monitor suspicious authentication attempts.
- Avoid treating a signature counter as the only method of detecting cloned credentials, because some authenticators use non-incrementing counters.
- Provide secure recovery and credential revocation workflows.
WebAuthn verification must be performed on the server. Never accept a successful frontend response as proof of authentication.
18. Test and Deploy the Authentication System
Testing is essential because passkey behavior can vary across browsers, devices, and authenticators.
| Testing Area | What to Verify |
|---|---|
| Registration | New passkeys are created and correctly associated with accounts |
| Authentication | Valid credentials successfully authenticate users |
| Challenge validation | Expired, reused, and invalid challenges are rejected |
| Origin validation | Requests from unauthorized origins are rejected |
| Browser compatibility | Supported browsers handle registration and login correctly |
| Mobile integration | Android and iOS credential flows work as expected |
| Recovery | Users can securely recover access |
| Session management | Sessions expire and can be revoked |
| Security testing | Invalid signatures and unauthorized requests are rejected |
Use browser developer tools and platform-specific testing environments to verify the complete authentication flow.
Before deployment, configure:
- A production HTTPS domain.
- Correct relying-party ID and origin settings.
- Android Digital Asset Links.
- Apple associated domains.
- Secure challenge storage.
- Database backups.
- Authentication monitoring and logging.
Test domain configuration carefully because WebAuthn credentials are associated with a relying-party ID and cannot be freely transferred between unrelated domains.
19. Advanced Features to Add Later
Once basic passkey registration and authentication are working, consider adding:
- Passwordless account creation
- Passkey-first login
- Multi-device passkey management
- Enterprise identity provider integration
- Risk-based authentication
- Authentication analytics
- Device and session management
- Adaptive account recovery
- Multiple authentication methods
- Centralized authentication for SaaS applications
These features can help businesses build a more complete identity and access management platform.
Conclusion
Implementing passkey authentication using WebAuthn in web and mobile applications requires a combination of public-key cryptography, secure backend verification, platform-specific credential APIs, and reliable session management.
WebAuthn provides a standardized approach for browser-based passkey authentication, while Android Credential Manager and Apple’s AuthenticationServices framework support native mobile experiences. A shared backend can manage credential registration, challenge verification, account association, and authentication sessions across platforms.
By following WebAuthn standards and implementing proper recovery, validation, and security controls, businesses can develop modern passwordless authentication systems that improve both user experience and account protection.
Looking to implement secure passkey authentication or develop a custom identity management platform? Dotcube Technologies can help design and develop software tailored to your business requirements.
Contact Dotcube Technologies: https://www.dotcubetechnologies.com/#contact